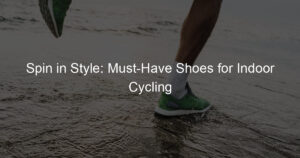
We all love spending time by the water, and water shoes are an essential accessory for many of our aquatic adventures.
These shoes provide us with comfort and protection while we’re swimming, kayaking, or just strolling along the beach.
However, like any other footwear, water shoes can experience wear and tear over time, leading to some common issues that might leave us scratching our heads.
In this article, we’ll explore some of the most frequent problems encountered with water shoes, as well as how repairs for water shoe problems do-it-yourself techniques.
By learning how to repair and maintain your water shoes, you can extend their lifecycle and get the most out of your investment, all while enjoying your time by the water even more.
Key Takeaways
- Addressing common water shoe problems extends their lifecycle
- DIY techniques can save time and money on repairs
- Proper maintenance preserves the comfort and protection features of water shoes
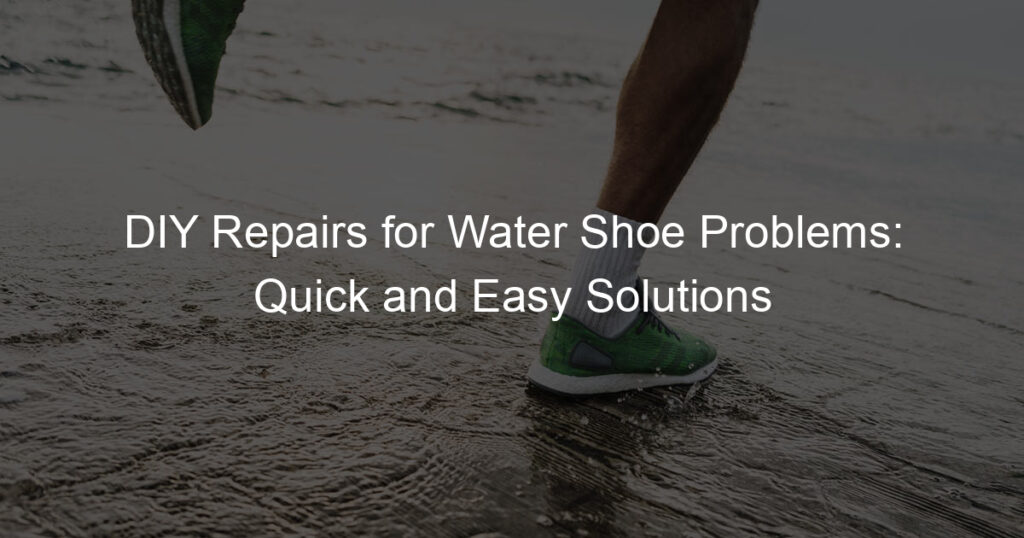
DIY Repairs for Water Shoe Problems
When I think of water shoes, the first thing that comes to my mind is their unique design tailored for use in and around water. These shoes can be a lifesaver during various water-intensive activities such as river rafting, sailing, beach sports, or just a walk along the shore.
As an enthusiast of water-related adventures, let me share some information about the key features of water shoes that make them so versatile.
The upper part of water shoes is usually made of a quick-drying material like mesh or neoprene. This helps to enhance breathability and avoid water retention, which makes the shoes lighter and allows me to stay comfortable.
The toe area is often reinforced with extra protection, as it is quite vulnerable to injuries when navigating on slippery or rough terrains. I appreciate the added safety that the toe guard provides.
Water shoes are also characterized by their soles, which play an essential role in giving a good grip on wet surfaces. The soles are often made from thick rubber with deep lugs that offer traction, preventing any unwanted slips or falls.
My experience suggests that a reliable water shoe should also have a puncture-resistant sole, especially when kayaking or hiking on rocky river banks.
To ensure a snug and secure fit, water shoes come equipped with adjustable straps or a bungee lacing system. These straps help to avoid losing the shoes in strong water currents while providing adequate support and security.
The heel section in some water shoes can also act as a cushioning element, greatly reducing the impact on my feet during jumps or sudden movements.
Lastly, the last of the water shoes is designed to accommodate the natural shape of the foot. This enables me to walk, jump, and run comfortably, minimizing the chance of blisters and chafing.
The overall construction of water shoes is lightweight and flexible, making it easier to engage in various water activities without hindrance.
In a nutshell, water shoes have an array of features tailored to suit the requirements of water-rich environments. From quick-drying materials in the upper section to the slip-proof rubber soles, these shoes are a perfect companion for various water-bound adventures.
Common Problems with Water Shoes
As a water shoe enthusiast, I’ve come across various issues with them over time. While they’re designed to handle wet environments, common problems can still pop up. Luckily, most of them are easily fixable with some DIY repair skills.
One issue I often face is the lack of waterproofing. Although water shoes are designed to be comfortable in wet conditions, they are not always completely waterproof. Moisture can sometimes seep in through tiny holes or weak points in the shoe’s fabric.
To fix this, I usually apply some waterproof sealant or tape on those spots, ensuring that no unwanted water gets inside.
Another common problem is the wear and tear of laces and seals. The laces on water shoes can often become frayed or damaged after frequent use, making it difficult to secure them properly.
To prevent this, it’s essential to rinse off any salt or sand after use and regularly check for signs of damage. If needed, simply replace the laces with new ones. As for the seals, they can occasionally lose their elasticity, causing water to leak in.
In such cases, it’s best to apply a flexible adhesive or rubber sealant to reinforce the sealing points.
Welt separation is another issue I’ve encountered with my water shoes. The welt is the point where the upper and the sole of the shoe are joined together. Due to constant exposure to water and the elements, the glue holding the parts together can weaken, causing the welt to come apart.
Thankfully, this can be easily repaired by cleaning the affected area, applying some shoe glue, and clamping the pieces together until they are properly bonded.
Water shoes are specifically designed to handle wet environments, but they can still develop some common issues, such as moisture leakage, lace and seal wear, and welt separation.
By addressing these problems with simple DIY repairs, I’ve been able to extend the life of my water shoes and continue enjoying their benefits in watery adventures.
Materials Used in Water Shoes
Leather Water Shoes
In my experience, leather water shoes are a popular option when it comes to durability and style. They are often made from treated or coated leather, which makes them water-resistant and able to withstand regular exposure to water.
Some advantages of using leather for water shoes include:
- Strength and durability: Leather is known for its toughness, so it provides excellent protection and can last for years.
- Comfort: Leather naturally molds to the shape of your feet, making them comfortable to wear for long periods.
- Style: Leather shoes are available in various designs and colors, offering a fashionable look for water activities.
However, leather water shoes might not provide the same level of ventilation or fast-drying abilities compared to other materials.
Rubber Water Shoes
Rubber water shoes are another common option for water-based activities. They are lightweight, affordable, and offer excellent traction on slippery surfaces.
Some of the benefits of rubber water shoes include:
- Waterproof: Rubber is inherently waterproof, making it perfect for activities like swimming or snorkeling.
- Grip: Good quality rubber soles provide excellent grip on wet surfaces.
- Easy to clean: You can simply rinse them off after use.
On the downside, rubber may not provide the same breathability or comfort as other materials.
Fabric Water Shoes
Fabric water shoes are often made from synthetic materials like polyester, nylon, or neoprene. These shoes are lightweight and quick-drying, making them ideal for water sports and outdoor activities.
Pros of fabric water shoes include:
- Quick-drying: Synthetic materials dry fast, helping prevent discomfort or blisters from wearing wet shoes for extended periods.
- Lightweight: Fabric water shoes are typically lighter than leather or rubber options, which can be great for adventures or travel.
- Flexible: These shoes provide excellent flexibility, allowing your feet to move naturally while swimming, hiking, or exploring.
However, fabric water shoes may sacrifice some durability compared to leather or rubber alternatives.
Canvas Water Shoes
Canvas water shoes are made from a woven fabric, often including materials like cotton or a blend of synthetic fibers. They are casual, breathable, and comfortable for a variety of water-based activities.
Some advantages of canvas water shoes are:
- Breathability: Canvas is a breathable material that helps keep your feet cool and comfortable during prolonged use.
- Affordable: Compared to leather or suede, canvas water shoes are more budget-friendly.
- Versatile: Canvas water shoes work well for both water sports and casual wear.
One potential downside to canvas shoes is that they might not be as quick-drying as fabric water shoes or as durable as leather options.
Repairing Water Shoes
Dealing with Moisture
To keep my water shoes in good shape, I always make sure to properly dry them after each use. Moisture can lead to bacterial growth and unpleasant odors. I place crumpled-up newspaper or a dry towel inside to absorb the moisture and leave them to air dry in a well-ventilated area, away from direct sunlight.
Repairing Soles and Heels
Over time, the soles and heels of my water shoes may wear down or come loose. In this case, I use a strong adhesive such as shoe glue to bond the detached parts back together. To ensure a strong bond, I first clean the area with a brush and some rubbing alcohol.
I then apply the adhesive, press the parts together, and use clamps or tape to secure them until the glue has fully dried. Using sandpaper, I smooth any rough edges and finish by brushing on some oil or WD-40 to protect the material.
Fixing Uppers and Straps
If my water shoes’ uppers or straps get damaged, I try to fix them with a combination of adhesive and a patch, if necessary. First, I clean the area with a cloth and some mild soap. I cut a patch from a similar material to the shoe and applied some shoe glue on both the patch and the damaged area.
After pressing them together, I place a heavy object on top and allow it to set. For straps, I might use strong tape as a temporary fix, wrapping it tightly around the damaged section.
Repairing Insoles
Finally, if my water shoes’ insoles get worn out or damaged, I either repair or replace them. To repair, I remove the insole and use some adhesive to bond any separated layers or materials together. I clamp them together until the glue dries.
If the insoles are beyond repair, I look for a suitable replacement in a store or online, making sure they are the right size and provide adequate support. Once I have my new insoles, I simply insert them into my water shoes, and they’re ready to go.
Waterproofing and Maintenance
One of the first things I do to maintain my water shoes is to ensure they are waterproofed. To do this, I apply a silicone-based spray specifically designed for waterproofing clothing and footwear.
This extra layer of protection not only keeps my feet dry but also extends the life of my water shoes.
After each use, I make it a point to brush off any dirt or debris from my water shoes. This simple yet effective step helps prevent the accumulation of unwanted materials that may affect the shoes’ functionality over time.
I use a soft-bristled brush and gently clean every nook and cranny.
In addition to brushing, I occasionally toss my water shoes into the washing machine. Washing them on a gentle cycle with cold water and mild detergent ensures they stay clean and odor-free.
Nevertheless, it’s essential to avoid using fabric softeners, as they can interfere with the shoes’ waterproofing properties.
Proper maintenance of my water shoes also involves drying them correctly after each use. I avoid exposing them to direct sunlight or heat, as it can damage the materials.
Instead, I simply place them in a well-ventilated area and allow them to air dry.
Following these easy steps, I find that my water shoes stay in great shape and continue to function well, providing me with comfortable and dry feet during my various water-based adventures.
Conclusion
I hope this article has been helpful in guiding you through some common water shoe problems and their DIY repair solutions. Keeping your water shoes in great shape will ensure comfort and protection during your water-based adventures.
Remember to always inspect your footwear for any signs of wear and tear. When you encounter issues like detached soles, damaged straps, or holes, don’t hesitate to try these DIY fixes.
By regularly maintaining and repairing your water shoes, you’ll prolong their lifespan and save some money in the process.
Lastly, never be afraid to reach out to the manufacturer or a professional for help if you’re unsure about a DIY repair. It’s always better to ask for guidance to ensure your water shoes remain reliable and in good condition. That’s all for now.
Happy adventuring!
Frequently Asked Questions
How can I fix a shoe sole at home?
I’ve found that fixing a shoe sole at home can be quite simple. First, clean the affected area thoroughly with soap and water, then let it dry completely. Next, apply a strong adhesive like shoe glue or super glue to the detached part of the sole, and press it firmly against the main body of the shoe.
Hold it in place for a few minutes to let the glue set, and then leave it to dry for at least 24 hours before wearing.
What type of adhesive is best for repairing water shoes?
When repairing water shoes, it’s crucial to use an adhesive that can withstand water and resist wearing off quickly. Some popular options include Shoe Goo, Gorilla Glue, and marine-grade adhesives.
Just make sure the adhesive is designed for use with footwear materials.
How do I repair a heel on a water shoe?
To repair the heel of a water shoe, start by cleaning and drying the damaged area. Apply a strong adhesive to the detached heel piece, carefully aligning it with the rest of the shoe. Press the heel firmly into place, making sure it sits flush against the shoe.
Hold the heel in place for a few minutes, then let it dry for 24 hours before wearing.
Can I mend a leak in my water shoe?
Yes, it’s possible to mend a leak in a water shoe. First, identify the source of the leak, then clean and dry the area. For small holes or tears, you can use a patch made from a similar material as your shoe, secured with a waterproof adhesive.
For larger damage, it might be better to consider replacing the entire shoe or seeking professional repair services.
Which stores sell glue for shoe repairs?
Most hardware stores and some big-box retailers carry a variety of adhesives suitable for shoe repairs, including Shoe Goo, Gorilla Glue, and other waterproof options. You can also find these adhesives online through retailers like Amazon or directly on the manufacturers’ websites.
Are waterproof boots repairable?
Absolutely! Waterproof boots, like any other footwear, can be repaired depending on the nature of the damage. For minor issues such as loose soles, detached heels, or small leaks, you can use the same techniques and adhesives discussed above.
For more significant damage or wear, it might be worth considering investing in a new pair of boots or seeking assistance from a professional shoe repair service.